The world of e-commerce on the Internet already has several tools and CMS allowing you to easily develop your online store in Cameroon and around the world. We will retain for example the famous CMS PrestaShop or Magento.
Recently, a new solution has arrived: Shopify.
The operation of Shopify is a little different from that of PrestaShop, and to help you get started with this new tool, we suggest that you follow the steps below:
At the end of this tutorial, you will be able to manage your Shopify e-commerce site in Cameroon and Africa.
Take advantage of the promotion to launch your professional website
We are specialists in the Creation of Professional Websites with several years of experience serving companies and individuals around the world. Consult our achievements by CLICKING HERE
Some Recent Achievements of LocalHost Digital: Best Web and Digital Agency in Cameroon

LocalHost Digital for the company UN Media

LocalHost Digital for the company PeexPay based in France

LocalHost Digital for L’institut d’Art Oratoire
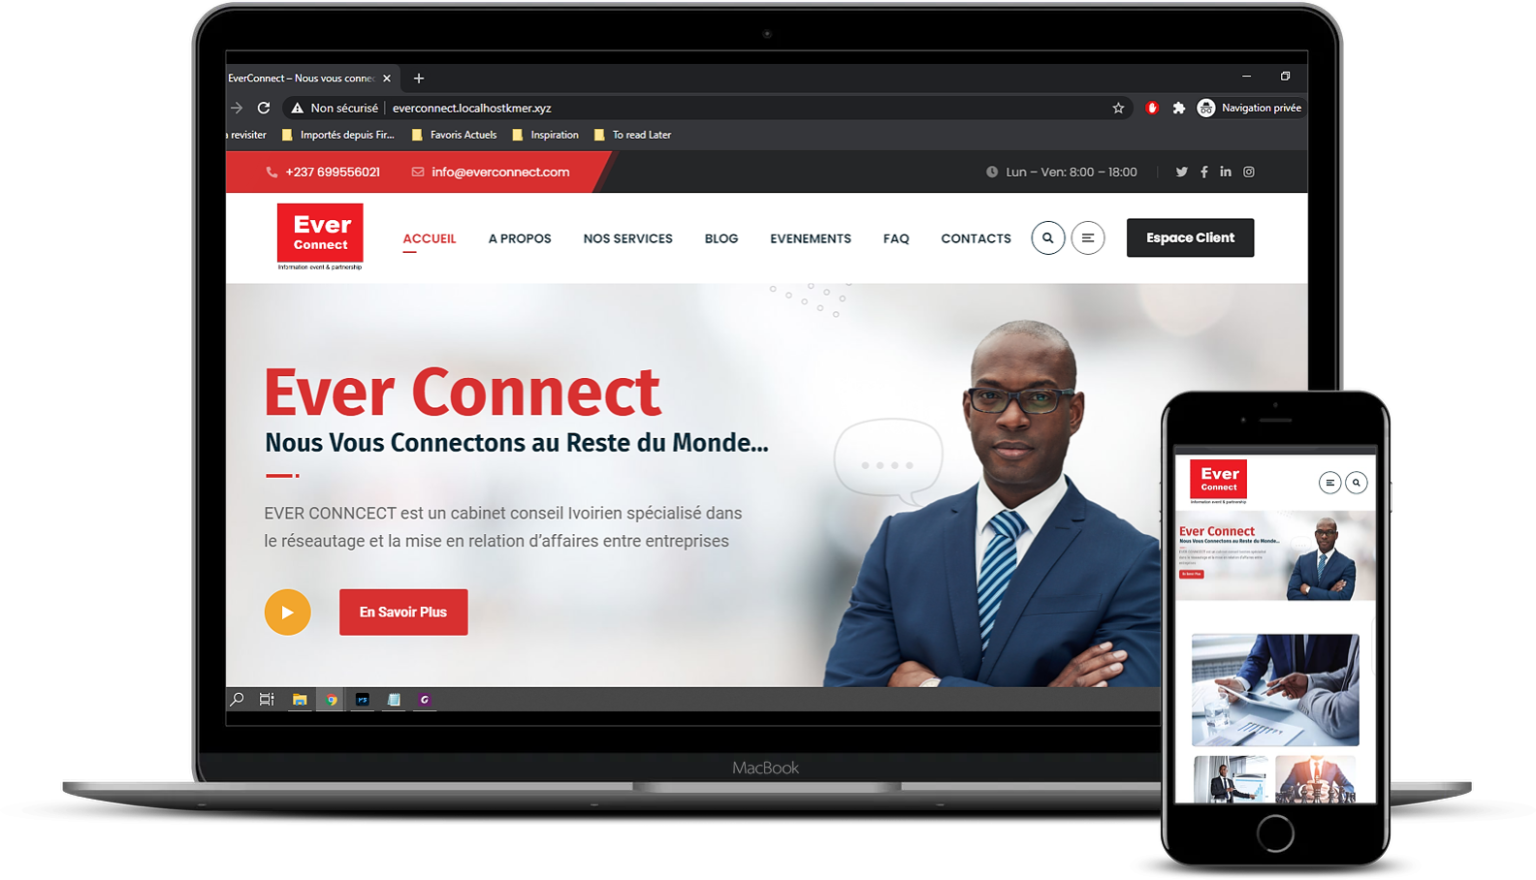
LocalHost Digital for the company Ever Connect based in Ivory Coast

LocalHost Digital for the company Hachther, Online Payment Solution

LocalHost Digital for Gab’s Shop

LocalHost Digital for the company KTK Deals SARL

LocalHost Digital for the company Alibase based in Chad

LocalHost Digital for the company IDOLE
1. What is Shopify?
Let’s start with a small explanation of what Shopify is.
Created in 2006 by three Canadians, Shopify quickly established itself as a new solution for developing your online store. Its ease of use has indeed attracted many beginners in e-commerce, but also professionals.
Unlike PrestaShop or Magento, Shopify is not available in open-source but works in SaaS. In other words, it means that you will not be able to install Shopify on your own computer because it is already installed on remote servers. In addition, you will need to take out a subscription to use Shopify and keep your e-commerce site online.
It is still possible to test the platform for 14 days which will give you time to create your store and understand the many features of Shopify.
2. Create your first Shopify site in Cameroon and Africa
Here we go, let’s start creating our first Shopify e-commerce site in Cameroon and Africa!
Start by going to the Shopify site and click on the “Get Started” button at the top right.
You will first benefit from a 14-day free trial, which will give you plenty of time to set up your online store.
Fill in the required fields to create an account, then click on “Create your store”.
You then go directly to the heart of the matter since you will already have to fill in the information relating to your online store.
The address you enter will be used by default for your business, but you will have the opportunity to change it later if necessary.
Then click on “Create my shop”.
And it’s as simple as you get to the administrator interface of your e-commerce site. This is where you will be able to manage your store.
Before continuing to create your e-commerce site, we will review the different sections of your admin:
- Home : this is not the home page of your dashboard (in the administration panel). This is where you will find a summary of your e-commerce site’s data.
- Orders : you will find in this section all the baskets created (not finalized or abandoned) and orders placed.
- Products : here you can create product sheets, create collections, manage your stock and even create gift cards.
- Customers : you will find a set of data on your customers as well as the details of their orders. You can even link this data to other tools such as MailChimp.
- Analytics : in this section you will access statistics for your e-commerce site.
- Discounts : allows you to create promotional codes.
- Apps : it is from this section that you can add functionality to your Shopify store, by downloading apps.
- Sales Channels : here you can manage many aspects of your online store (add pages, manage preferences, choose the theme…) and add other places of sale ( Durrell Market , Facebook, Amazon…).
- Settings : this is where you can manage the administrative side of your site and configure payment methods, for example.
Find the best Shopify service provider for your project quickly and for free on Codeur.com Find a freelancer
Take advantage of the promotion to launch your professional website
We are specialists in the Creation of Professional Websites with several years of experience serving companies and individuals around the world. Consult our achievements by CLICKING HERE
Some Recent Achievements of LocalHost Digital: Best Web and Digital Agency in Cameroon
LocalHost Digital for the company UN Media
LocalHost Digital for the company PeexPay based in France
LocalHost Digital for L’institut d’Art Oratoire
LocalHost Digital for the company Ever Connect based in Ivory Coast
LocalHost Digital for the company Hachther, Online Payment Solution
LocalHost Digital for Gab’s Shop
LocalHost Digital for the company KTK Deals SARL
LocalHost Digital for the company Alibase based in Chad
LocalHost Digital for the company IDOLE
3. Choose and install a theme on Shopify
We are going to start configuring our e-commerce site by choosing a theme to customize the appearance of our store.
Go to Sales Channels and click on “Themes”.
Shopify offers many themes, some free, some paid. Paid themes will offer more advanced features and will be more easily customizable, but free themes are a good compromise to get your hands on Shopify.
You can also follow our step-by-step tutorial to install your free or paid Shopify theme, from the Shopify library, an external site or a .zip file.
How to choose your Shopify theme?
To choose a Shopify theme, here’s what you need to consider:
- The type of product you sell,
- The number of products you want to sell,
- The image you want to return.
Don’t forget to check the language of the theme as some are only available in English.
Install a Shopify theme
To install a theme, you can click directly on “Explore Free Themes” to have access to around ten free Shopify themes.
You just have to click on a theme to discover the features offered and then click on “Add” when a theme suits you.
You can also click on “Visit Theme Store” to enter the Shopify theme store. You will then find paid themes, but also free themes.
Click on a theme to get more details and view the demo.
When your choice is made, click on “Buy theme” if it’s a paid theme, or on “Add theme” if it’s a free theme.
Wait a few seconds for the theme installation to complete.
Your Shopify theme is now installed. You can customize it by clicking on “Customize”.
Change theme language
To modify the language of your theme, click on the “Actions” button then on “Edit languages”.
Then click on “Change theme language”.
Choose your language from the drop-down list plus click “Save”.
4. Create pages on Shopify
With Shopify, you will be able to create different pages for your e-commerce site in Cameroon: “Who are we? “, “Contact”, “FAQ”, “Legal notices” or even “CGV”.
Go to “Sales Channels” then click on “Pages”.
To add your first page, click on the “Add page” button.
You can then enter the title of your page as well as its content. Note that if you want to create a contact page, it may be necessary to select the “page.contact” template. A contact form will be automatically integrated into the page.
If you don’t want your page to be published right away, check “Hidden” in the “Visibility” box.
Don’t forget to click “Save” to save your changes.
5. Add and configure products
Create product categories
Before we jump into creating your first product on Shopify, let’s start by defining categories. These categories will allow you to classify the different products on your e-commerce site.
Do you have a specific project in mind?
Whatever the project you have in mind in terms of creating a website or mobile application in Cameroon, LocalHost guides you and helps you clarify your ideas. Worried about your budget? No worries, LocalHost studies your project for free and offers you an estimate within 24 hours.GET A QUOTE WITHIN 24H
To create a category, click on “Products” then on “Collections”.
Then click on the “Create collection” button at the top right of the page.
Fill in the title of your collection (for example “shoes”, “jewellery”…) as well as its description. You can also upload an image to your product category by clicking on “Upload image”.
You will then have to fill in the conditions for the products to appear in your collection:
- Manual : you can manually choose the products associated with your collection
- Automated : the products are associated with the category according to the condition entered
We advise you to select “Manual” because the management of products in categories is easier and gives you more freedom.
Don’t forget to click on “Save collection”.
Add a product
Click on “Products” from your left menu and then click on the “Add product” button.
Fill in the different fields of your product:
- Title and description : add the name and description of your product
- Sales Channels : you can choose on which platforms you want your product to appear when you have several Sales Channels
- Organization : allows you to enter a type of product and the seller (brand for example) of your product
- Collections : choose in which collection you want your product to appear
- Tags : you can add keywords such as the type of your product, its origin, its color…
- Images : you can add several images to illustrate your product
- Pricing : fill in the price of your product. You can add its old price in “Compare at price”.
- Inventory : fill in the reference of your product in “SKU” as well as the barcode in “Barcode”. In “Inventory policy” you can choose to manage your inventory by entering, for example, the number of products you have. For example, if your product is in 20 copies, your product will be marked as out of stock when you have sold your 20 products.
- Shipping : check the box if your product can be delivered, and fill in its weight
- Variants : fill in the different sizes of your product for example, or the different colors. Press “Enter” after entering a value for your variant. When your variants are created, you can define for each of them a specific price as well as their stock.
Click on “Save product” to save your product. Use professional writers to write your product sheets
6. Set up payment, shipping and taxes on Shopify
Configure payment methods
To configure the payment methods for the products on your e-commerce site, go back to “Settings” then click on “Payment providers”.
We advise you to install PayPal because this method of payment is appreciated by many customers. The PayPal Express Checkout version is more than sufficient since it will allow your customers to pay by credit card via PayPal or directly from their PayPal account.
In “Accept Credit Card” you have access to the various payment partners of Shopify. We advise you to select “Stripe” which is one of the best online payment solutions and one of the simplest.
By clicking on “Activate”, you will be asked to enter information in order to activate your Stripe account. Click on “Authorize access to this account” to validate.
You can also add alternative payment solutions from “Alternative Payments” and even activate Amazon Pay.
“Manual payments” can be useful when some of your customers cannot (or do not want to) use their bank card, for example. When your customer uses manual payment, he sends you the money outside your e-commerce site: it can be in cash or to another bank account for example. When you receive this payment, you can manually approve the sale.
Finally, in “Payment authorization” you can decide to receive payments automatically at the time of sale, or validate them manually. This is because when a customer makes a payment using a credit card, the payment information must be entered and sent to their bank for processing.
- Automatically : You will be able to charge customers’ cards automatically before the end of the authorization period, saving time when processing orders.
- Manually : You’ll need to make payments from your admin’s Orders page.
To help you configure your payment methods, call on a Shopify expert
Take advantage of the promotion to launch your professional website
We are specialists in the Creation of Professional Websites with several years of experience serving companies and individuals around the world. Consult our achievements by CLICKING HERE
Some Recent Achievements of LocalHost Digital: Best Web and Digital Agency in Cameroon
LocalHost Digital for the company UN Media
LocalHost Digital for the company PeexPay based in France
LocalHost Digital for L’institut d’Art Oratoire
LocalHost Digital for the company Ever Connect based in Ivory Coast
LocalHost Digital for the company Hachther, Online Payment Solution
LocalHost Digital for Gab’s Shop
LocalHost Digital for the company KTK Deals SARL
LocalHost Digital for the company Alibase based in Chad
LocalHost Digital for the company IDOLE
Configure product delivery
Go back to “Settings” then click on “Shipping”.
In “Shipping rates at checkout” you will be able to define delivery zones by clicking on “Add shipping zone”. You will be able to select the countries concerned by the defined zone.
You can also set taxes based on the price of the order or its weight. Below we have setup 10€ tax when orders over 250€ for defined countries.
In the “Packages” section, you will be able to define the dimensions of the packaging needed to ship your products. These dimensions can be used to calculate charges on the delivery of your product.
Please note: most carriers charge based on the size and weight of the package. So be sure to use the smallest packaging possible.
Configure taxes
To sell your products, you will have to manage the taxes applied.
Go to “Settings” then click on “Taxes”.
In “Tax settings” the box “All taxes are included in my prices” is automatically checked. This means that the prices displayed on your site already include the tax.
In the “Tax rates” section, you will be able to configure the tax applied to certain countries if you wish. The countries are taken from the configuration of your delivery zones.
To apply a tax to a country, click on its name.
For each country you can define a general tax. For countries with several provinces, you will be able to apply different taxes depending on the region if you wish.
You can configure how a province’s tax relates to the country’s tax.
Finally, for each country you can add a tax according to the category of your products, from “Tax overrides”. To do this, click on “Add a tax override”.
Select your collection and enter the tax you want to apply. Click on “Add Override”.
7. Add discounts to your products
With an e-commerce site , you will certainly have to offer discounts to your customers. Shopify allows you to configure discounts in a very simple way, let’s see how.
Start by going to “Discounts” in your left menu and then click on the “Create discount” button.
Enter a name for your promo code or click “Generate code” to have Shopify generate a random promo code for you like “DBARVXHQ2QK6”.
Then select the type of promotion you want to set up.
- Percentage : enter the percentage of your reduction in “Discount value”
- Fixed amount : enter the fixed amount of your promotion in “Discount value”
- Free shipping : select the countries in which you wish to offer delivery and/or enter the amount from which delivery is offered in “shipping rates”
- Buy X get Y : fill in the quantity purchased in “Customer buy” then fill in the quantity offered in “Customer get”. Then choose whether this promotion is in percentage (for example “-50% on the second product purchased”) or in units (for example “2 products purchased, the 3rd offered”)
In “Applies to”, select on which elements you want to set up your promotion: all your products, on certain collections or on certain products. This part is not available if you choose “Free shipping” and “Buy X get Y as a promotion type.
In the “Minimum Requirement” section, you can select from when your promotion takes place: from a certain purchase amount or a certain quantity purchased, for example. This section is not available if you choose “Buy X get Y” as promotion type.
In “Customer eligibility” you can choose to apply your promotion to all customers or only to some of them.
You can also limit the use of your promotion code in “Usage limits”.
The last element to configure for your promotion will be the date in “Active dates”. You can precisely select the start date and end date of your promotion.
After all these configurations, do not forget to click on “Save discount”. With Shopify it is possible to set up a more advanced reduction system by creating a loyalty program. Learn how to easily create your loyalty program with our tutorial.
8. Choose new outlets in Cameroon and Africa
By default, your products are only sold in your online store. In your “Sales Channels” menu, you only see “Online Store”.
If you want to sell your products on other platforms, go to “Settings” then click on “Sales channels”.
You simply have to click on “Add sales channel” and then choose a new point of sale such as Facebook, Instagram or Amazon.
These points of sale will then be added to your left menu and it will then be necessary to configure them correctly.
9. Test your Shopify checkout process
Verify company information
For your e-commerce site to be functional, you will have to ensure that all the information relating to your company is entered.
To do this, go to “Settings” (bottom left) then click on “General”.
The information was normally entered when you signed up for Shopify, but check that you have selected the correct currency, or that your address does not contain an error.
This is also where you can customize the numbering of your orders.
Click “Save”.
Place a test order
After the many configurations you had to make on your Shopify e-commerce site, it is important to check that everything is working. The first purchases on your online store should not go badly, in which case you risk scaring away your first customers.
Go back to “Settings” then to “Payment providers”.
If you had configured a payment method such as “Stripe”, click on “Deactivate”. This way, you should once again have the “Accept credit cards” section.
In the drop-down menu, select “(for testing) Bogus Gateway” then click on “Activate”.
Go to your online store and place an order as if you were a customer.
Do you have a specific project in mind?
Whatever project you have in mind in terms of creating a website or mobile application in Cameroon, LocalHost guides you and helps you clarify your ideas. Worried about your budget? No worries, LocalHost studies your project for free and offers you an estimate within 24 hours.
Vous avez un projet spécifique en tête?
Quelque soit le projet que vous avez en tête en matière de création de site internet ou d’application mobile au Cameroun, LocalHost vous oriente et vous aide à clarifier vos idées. Vous êtes inquiets au sujet de votre budget? Pas de soucis, LocalHost étudie votre projet gratuitement et vous propose un devis estimatif en 24H
When validating your order, enter one of the following digits instead of the credit card number, depending on what you want to simulate:
- 1 : you will simulate a successful transaction
- 2 : you will simulate a failed transaction
- 3 : you will simulate an error on your site during payment
For the CVV you can simply enter a 3-digit code and for the expiry date be sure to enter a date in the future.
When you have paid, you can go back to your administrator and see what is happening in “Orders” for example.
At the end of your test, don’t forget to cancel the order so that your stock is not distorted.
We have just seen many features to set up your e-commerce site with Shopify. Now that your ordering process is functional, you will soon be able to put your site online.
LocalHost Digital : Your Web & Digital Agency in Africa

The N°1 Digital Transformation Agency LocalHost Digital is at your disposal for all your projects. Our Digital Agency specializes in the Development and Integration of Digital Solutions for Companies (ERP, CRM, Commercial Management, Dedicated Solutions, etc.), the Creation of Professional Websites , the Development of Web and Mobile Applications , the Development of Business applications, Digital Marketing , as well as in Graphic Design and Practical Training in the various Digital professions . We are a Digital Transformation Company which stands out for its wide range of services and creative strategies, but above all for the quality of our achievements. We support and educate our customers so that they get the most out of the solutions we build with them.
We publish and integrate software solutions designed to simplify and optimize the management of specific businesses and activities:
- Business Management Software
- Stock Management Software / Warehouses
- School Management Software
- Hospital Management Software
- Hotel and Hostel Management Software
- Law Firm Management Software
- Sewing Salon Management Software
- Call Center Management Software
- Freight Business Management Software
- Whatsapp Bulk Messaging Software
- Restaurant Management Software
- Fleet Management Software
- ERP/CRM/HR/Project Management Software
- Medical Analysis Laboratories Management Software

Durrell NGOUANET DONGMO | Promoter of LocalHost Digital
Durrell NGOUANET is a young Engineer graduated from the National Polytechnic School of Yaoundé. Passionate about Digital Transformation and Specialist in Digital Solutions, He is attracted by the challenge and the resolution of business problems | An entrepreneur focused on the future, he is the Founder of the company LocalHost Group SARL and of the Training Center for Digital Professions LocalHost Academy | He is also the Founder of the Professional Social Network TheStarterbook , the Durrell Market e-commerce platform and many other digital initiatives.
Take advantage of the promotion to launch your professional website
We are specialists in the Creation of Professional Websites with several years of experience serving companies and individuals around the world. Consult our achievements by CLICKING HERE
Some Recent Achievements of LocalHost Digital: Best Web and Digital Agency in Cameroon
LocalHost Digital for the company UN Media
LocalHost Digital for the company PeexPay based in France
LocalHost Digital for L’institut d’Art Oratoire
LocalHost Digital for the company Ever Connect based in Ivory Coast
LocalHost Digital for the company Hachther, Online Payment Solution
LocalHost Digital for Gab’s Shop
LocalHost Digital for the company KTK Deals SARL
LocalHost Digital for the company Alibase based in Chad
LocalHost Digital for the company IDOLE

